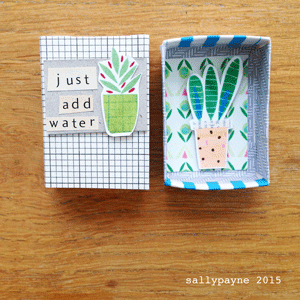
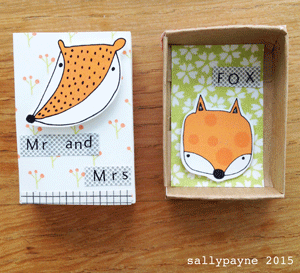
Tutorial
Friday, June 19th 2015
I thought I'd try and offer a bit more variation on my blog aside from just my Illustration and pattern designs. I have always liked making things, whether it be from paper or fabric and have seen some great ideas on Pinterest. So I have compiled a step by step tutorial for you to follow.
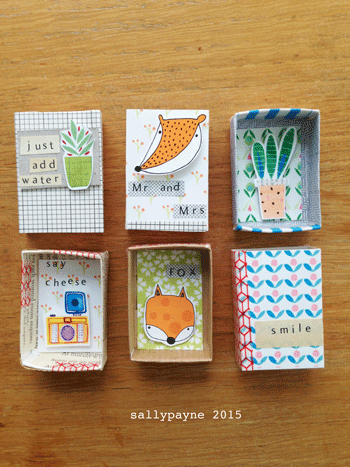
Collage Matchboxes.
You will need:.
Old matchboxes - or you can buy plain craft boxes.
Collage papers - recycled/found/collected paper/patterned paper/photos/drawings.
Scissors/glue letterset (don't have to have this) / was-hi tape /double sided tape.
Pictures - could be photographs, cut outs from magazines - your own drawings...
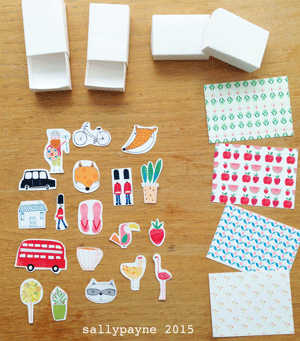
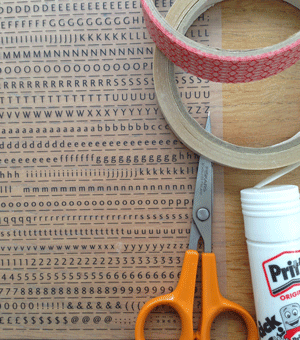
Firstly decide on what you want to include on the outside and inside of the box, this can be anything - it could be a simple greeting like thank-you" and have some photos inside, it could be a saying or quote you like etc.
Print out or cut out your images and find some paper to cover the boxes - just use a simple glue for this.
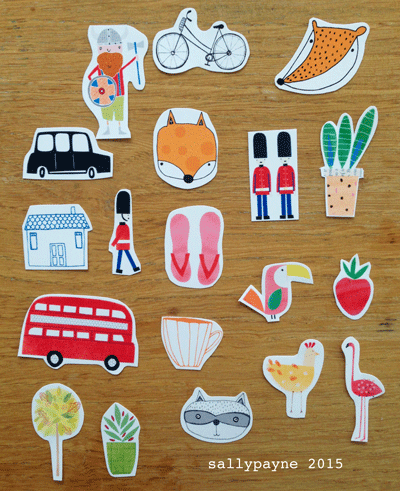
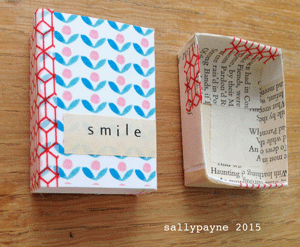
I have added some was-hi tape to the edges and used some old book pages to cover the inside of the box. I have added text with a letterset - this is a simple way of transferring type from sheet directly onto your paper - likewise you could handwrite this or type something on the computer then print and cut and stick.
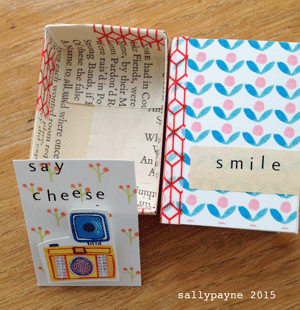
I then cut out a piece of paper to line the inside of the box, added some text and stuck on my camera - I added a small piece of card behind the camera so it sits slightly in relief.
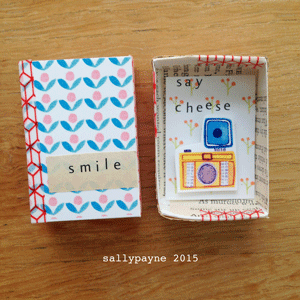
And thats all there is to it ! Have a go x.
